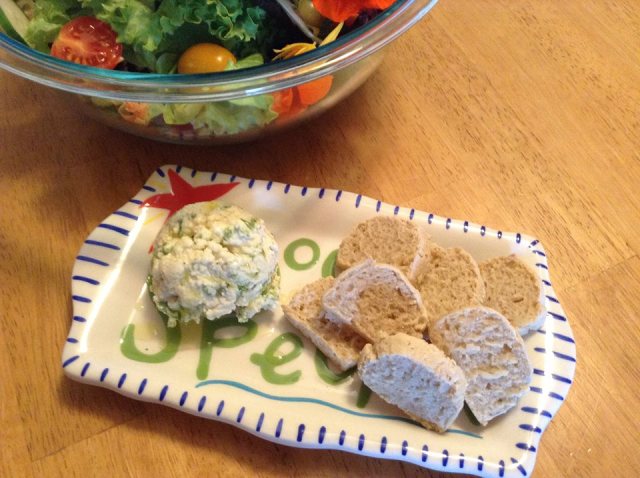
This recipe was born out of both experiment and necessity. I had almost a half-gallon of raw milk that had gone sour and wasn’t quite sure what to do with it. I decided to go ahead and utilize it for making whey as I was running very low. The cool thing about whey is the soured cream cheese that is produced as a byproduct. Since it is my general policy not to let anything go to waste I wanted to use the cream cheese in some way however, soured cream cheese from raw milk is, well, sour. Not generally appetizing alone, it does make a good base for a strong flavored spread. I had been experimenting with fermenting green tomatoes and fresh garlic, so I thought that the flavor would be strong enough to work with the cream cheese. This spread is pungent, flavorful and perfect on grain free crackers or gluten free crostini.
This recipe involves three parts – the method for making soured cream cheese, the method for making fermented green tomatoes and the actual spread itself. Generally I would put these into three different posts, and I may do that eventually but for the sake of getting the recipe out to you all I will just quickly go over how it’s done.
Fermented Green Tomatoes
What you need: green tomatoes, garlic cloves, salt and a jar
Method: for an 8oz jar, chop as many green tomatoes that will fit into the jar loosely packed. Smash and chip 3 fresh garlic cloves and add them to your jar. Add a ¼ tsp. of sea salt and mash the contents into the jar until there is liquid. Put a lid on the jar and let it sit on your countertop for 24 to 72 hours depending on the warmth of your kitchen. In these summer months, my ferments are ready in about 24 to 36 hours. Your jar should make a nice pop when you open it and the tomatoes will be softer but still have a crunch similar to pickles. They are now ready for your spread (or for eating straight out of the jar).
Soured Cream Cheese
What you need: Raw milk (soured or not), 2 jars, cheese cloth or nut milk bag
Method: Pour your milk into wide mouth jars and set them on your counter for 24 to 72 hours until they clabber. Clabbering occurs as the whey separates from the solids. You can tell when your milk is clabbered when it looks like yogurt is floating on the top. Line your clean jar with the cheese cloth or nut milk bag and pour the clabbered milk in. Hang the cloth over the jar to allow all of the whey to drip out, leaving you with cream cheese. The whey can be stored up to 6 months in the fridge and is perfect for fermenting veggies and making cultured sodas. Chill your cream cheese overnight so it’s nice and firm.
And now….the easy part!
Mix your soured cream cheese, ¼ tsp. sea salt, ½ tsp. cracked pepper, ½ cup of fermented green tomatoes and a smashed and chopped clove of fresh garlic until well incorporated. Put the mixture back into the fridge to chill. That’s it! This recipe is well worth the work, and received rave reviews from family members that still think my food is “weird”. Give it a try and let me know what you think, I’m sure there are many variations that would be super yummy! ~Carmen
(This post can be found on the following blog link-ups: Party Wave Wednesday, Real Food Wednesday, Gluten Free Fridays, Aloha Friday, Food On Fridays, Weekend Whatever, Simple Lives Thursday, and No Rules Weekend) You can also find me on Facebook!
